Which door first
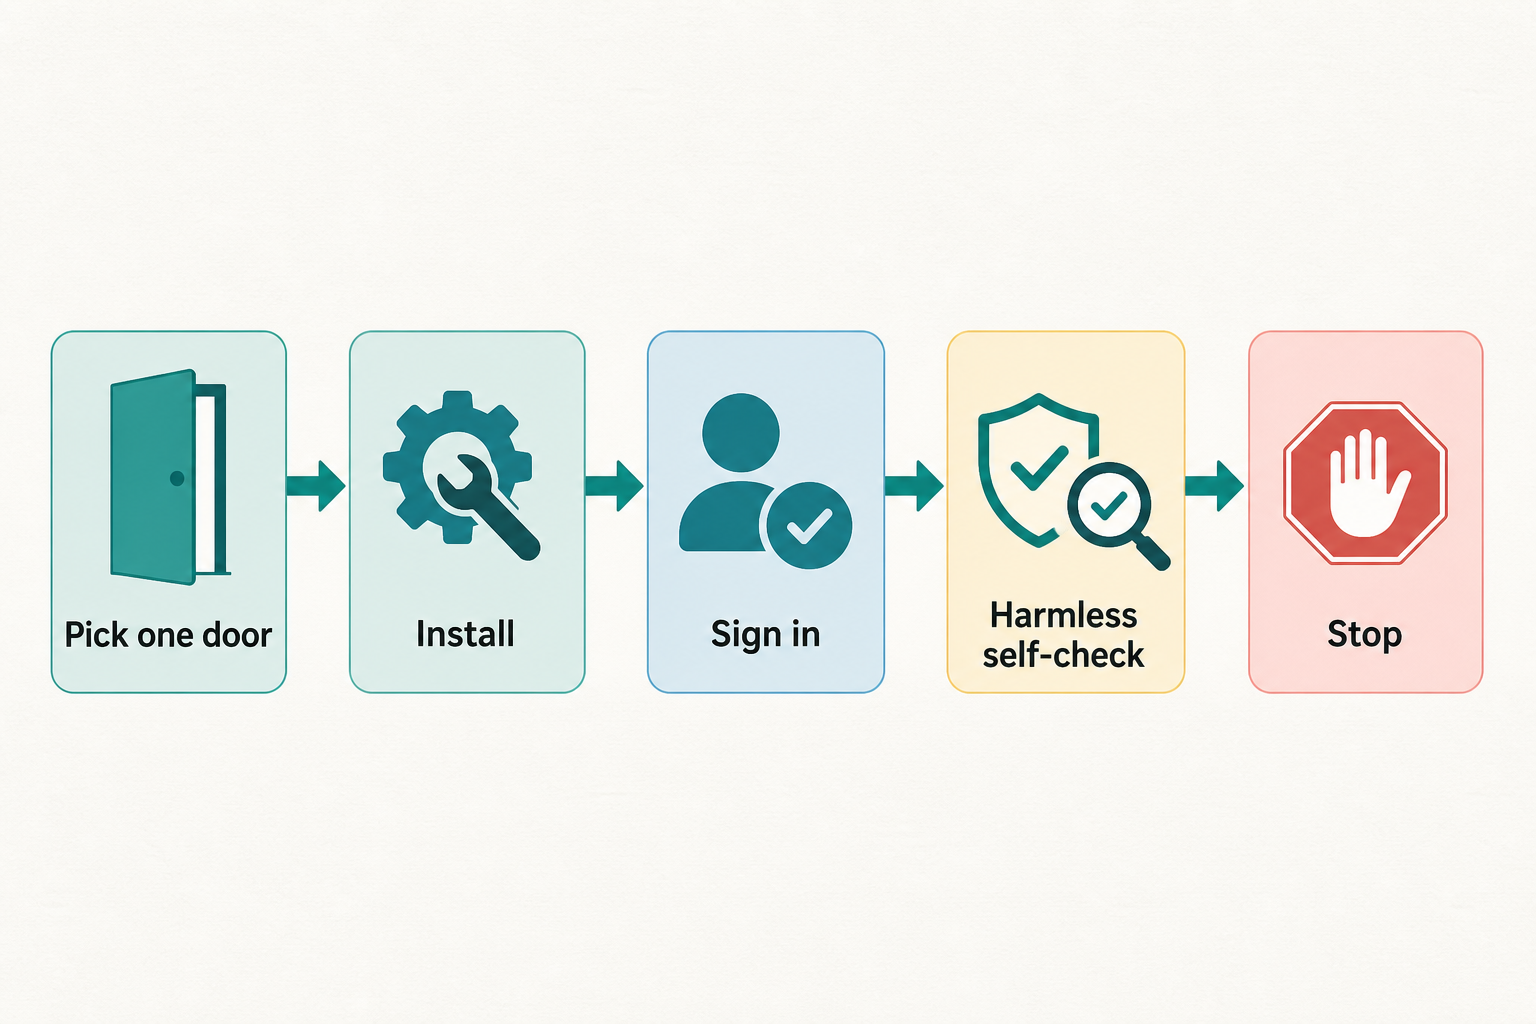
Install the CLI if you live in a terminal. Install the official extension if you click files in an editor. Start from ChatGPT Codex if you are already in a connected workspace.
The three doors often share login and a local config directory. One working door gives you a baseline for debugging.
If two doors look equally good, pick the CLI. It gives you a binary you can ask for help, a log directory, and a PATH you can inspect. Those are easier to debug than a silent sidebar.
- CLI: you have a JS toolchain or can run the official install script.
- IDE: you already have VS Code or a compatible editor.
- ChatGPT: your account shows a Codex entry.
Install Codex CLI
Two public paths are common: install the official package named in current Codex docs, or run the official install script for your OS. Trust the page you open today.
Do not memorize a patch version from a blog. Versions move quickly. Pin only from the official changelog.
Open a new terminal and run a help or version command. GUI terminals and editor terminals can have different PATH values.
A hedged example, only after you copy the current official package name: install with your usual JS package manager, then in a new terminal run the documented help or version flag. If docs show an OS install script instead, use that and still open a new terminal. Do not concatenate three blog commands into one line.
- Use the official package name or script, not a random mirror.
- Open a fresh terminal after install.
- On a corp network, confirm the download can leave the building.
Install the editor extension
Search the official Codex extension in the VS Code marketplace or a compatible editor. Installing it does not mean you are signed in.
Open the Codex side panel and follow the login prompt. Editor settings that start with the extension prefix are not the same file as agent config.
If the marketplace shows more than one similarly named extension, stop at the publisher field.
- Only the official publisher.
- Sign in before you open a real repo.
- On Windows, if the repo lives in WSL, follow current docs for running the agent there.
Open Codex from ChatGPT
Open ChatGPT and find the Codex or coding-agent entry. Menu labels change. Trust what your account shows.
Web and desktop fit long tasks on a connected workspace. Do not assume a cloud task can see unsynced laptop files.
Web Codex is still install in the sense of account access and a connected workspace.
Login and local config
CLI and extension usually use a ChatGPT login. Some setups accept an API key; that is a different path. Never commit the key.
Local state often lives under a Codex home directory. An environment variable can move it, but the folder must already exist.
Durable agent settings belong in config.toml. Environment variables are for overrides and secrets.
If docs mention an environment variable that relocates the Codex home, create the directory first. Pointing the variable at a missing path looks like a clean install that never saves login.
- Finish login before MCP.
- Keep config and secrets apart.
- Do not copy session files to a new machine; sign in again.
Where local state usually lives
Many setups use a Codex home under your user directory for config, logs, and skill caches. The exact folder name belongs to current docs. Treat that folder like mail: do not zip it into a git repo.
On Windows, GUI apps, PowerShell, and WSL can each see a different home and PATH.
- Know which user the binary runs as.
- Do not commit the home folder.
- Relocate it only if you can create the target first.
Install mistakes that waste a day
The classic failure is installing twice, then wondering why which and the editor disagree.
The second classic failure is signing in, then immediately adding MCP.
- Using an unofficial mirror of the installer.
- Copying session files between machines.
- Testing the binary only inside a stale IDE terminal.
A harmless self-check
In a throwaway directory, ask for the current folder name or a file listing. Do not open write access on a production repo first.
A correct directory answer means the binary and login work. Only then start a real task.
A hedged self-check: reply with the basename of the current directory and list top-level files. Do not edit.
- Open a new terminal.
- Enter a temporary directory.
- Ask a read-only question.
- Check logs or the sidebar for login errors.
Install checklist
You are done when a read-only question works on one door.
- Official package or extension only.
- Fresh terminal after install.
- Login completes without pasting a key into the repo.
- Read-only self-check in a throwaway directory.
- Note where logs live, then go to the first task.
Next: one reviewable task
The next chapter uses a repo you own and a change you can revert.
If the self-check failed, use the troubleshooting chapter.