Which door first
If you live in a terminal, install the CLI and open the TUI. If the task already belongs in a script, still install the same binary, then learn -p. Leave ACP until after the comparison chapter.
The three doors often share login and the user config directory. One working door gives you a baseline.
On a work machine, confirm the installer can reach the network and that the repo may be sent to an external model. Use a practice repo if policy is unclear.
- TUI: a shell plus a browser or a key.
- Headless: the official API key environment variable.
- Windows: use today's install page, not a forum post.
Install with the official script
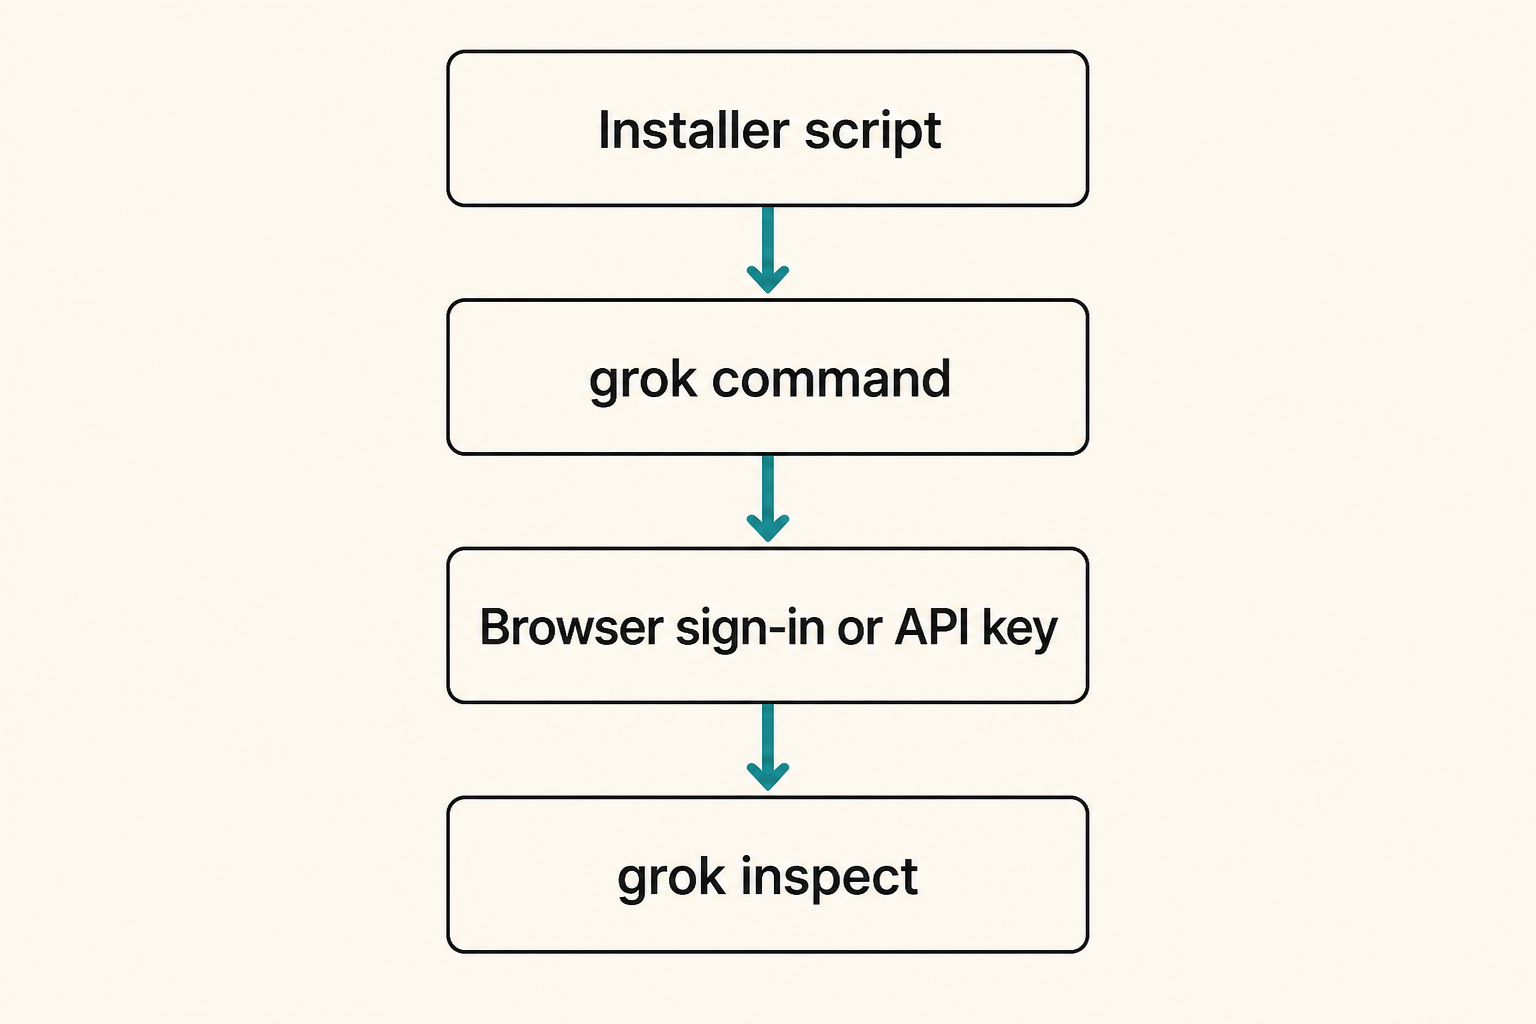
The public install command is `curl -fsSL https://x.ai/cli/install.sh | bash`. Copy it from the x.ai/cli page you open today. Do not switch to a random mirror.
Remote scripts require a domain you trust and content you can read. Corporate setups often download first, then review.
Do not memorize a patch version. Pin from official release notes if you must pin.
In a new terminal, run grok or a help/version-style check so PATH points at what you just installed.
- Open the official CLI page and copy today's command.
- Open a new terminal after install.
- Confirm outbound network on corp networks.
- Command-not-found is PATH first, then the troubleshooting chapter.
What to watch on Windows
The official page has also offered a PowerShell path. Trust today's page, not an old post.
User config is usually under your user profile .grok folder. WSL is a different Linux home. Do not edit one and look in the other.
- Keep PowerShell, CMD, and WSL PATH separate.
- Use the user-level .grok directory.
- If security software blocks install, verify the official domain first.
How first launch logs in
Interactive use is public as: cd into the project, run grok. First launch opens a browser.
Without a browser, set the official API key environment variable, then run grok. Keys never go in the repo.
Login failure is usually an unprovisioned account, a blocked callback, or a bad key—not the model.
On a shared machine, use your account or a team-issued key, not a copied home directory.
- Enter a practice repo, then run grok.
- Allow one browser popup.
- On headless hosts, follow official key setup.
- Do not commit secrets.
When headless becomes a habit
Public headless usage is grok -p plus a prompt. Machine-readable output has been documented as streaming-json. Learn the task in the TUI first.
CI should not use interactive login. Inject a supported key and limit the checkout.
Headless is not a skip-review card. Scripts still need a working directory, timeouts, and a failure exit.
- Same binary, -p is one shot.
- Inject keys via environment in pipelines.
- Turn on streaming-json only when you will parse events.
Where the config home is
User config is commonly the .grok/config.toml under your home directory, and the same relative path under the Windows user profile.
After install, run grok inspect to see config sources, instructions, skills, plugins, hooks, and MCP.
- Remember the user-level config.toml.
- Use inspect to confirm the client sees this repo.
- Do not paste someone else's full config on day one.
Common install mistakes
Unofficial scripts, no new terminal, and launching in the home directory instead of a project.
Practicing on a production repo, or writing a key into a file that will be committed.
- Changing the install URL from a random gist.
- Starting in the wrong directory.
- Writing a key into the README.
- Configuring TUI, CI, and ACP the same day.
Harmless verification
Ask only read-only questions: explain this repo, list top-level dirs.
If the TUI opens and inspect prints the current directory, install succeeded.
On failure, check login, PATH, directory, then key. Do not reinstall three times.
- grok runs in a new terminal.
- A read-only session in a practice repo.
- inspect sees the current path.
- The worktree is clean or only has expected files.
Leave install only when
You need a command that starts, not a perfect theme or ten MCP servers.
- Official install command succeeded.
- Browser auth or an API key works.
- Read-only check done in a practice repo.
- You know where config.toml is.
- Commit or stash your own edits before the next chapter.
Next: one reviewable task
The first-task chapter uses plan mode to block edits until you approve. Still no MCP.
If the TUI still will not open, go to troubleshooting instead of writing skills.